Icing has always been my favorite part of any cake. I remember as a kid, the sheer joy of seeing a beautifully decorated cake, and the anticipation of that sweet, creamy topping. The smell of vanilla and sugar wafting from the kitchen always meant a special occasion was near. Learning how to make cake icing myself felt like unlocking a secret baking superpower! It’s surprisingly simple, and the ability to transform a plain cake into a masterpiece is incredibly rewarding. Whether you’re a beginner or looking to perfect your skills, this guide will have you whipping up delicious frosting in no time. Let’s get baking!
Why You’ll Love This Icing
- It’s incredibly delicious, with a perfectly sweet and creamy taste that complements any dessert.
- The prep time is a mere 5 minutes, making it ideal for quick decorating needs.
- It’s a simple, budget-friendly option, using common pantry staples.
- This easy cake icing is a hit with kids, making it perfect for family baking projects.
- You can easily customize the flavor and color to match your theme.
- It’s a fantastic introduction to making homemade frosting from scratch.
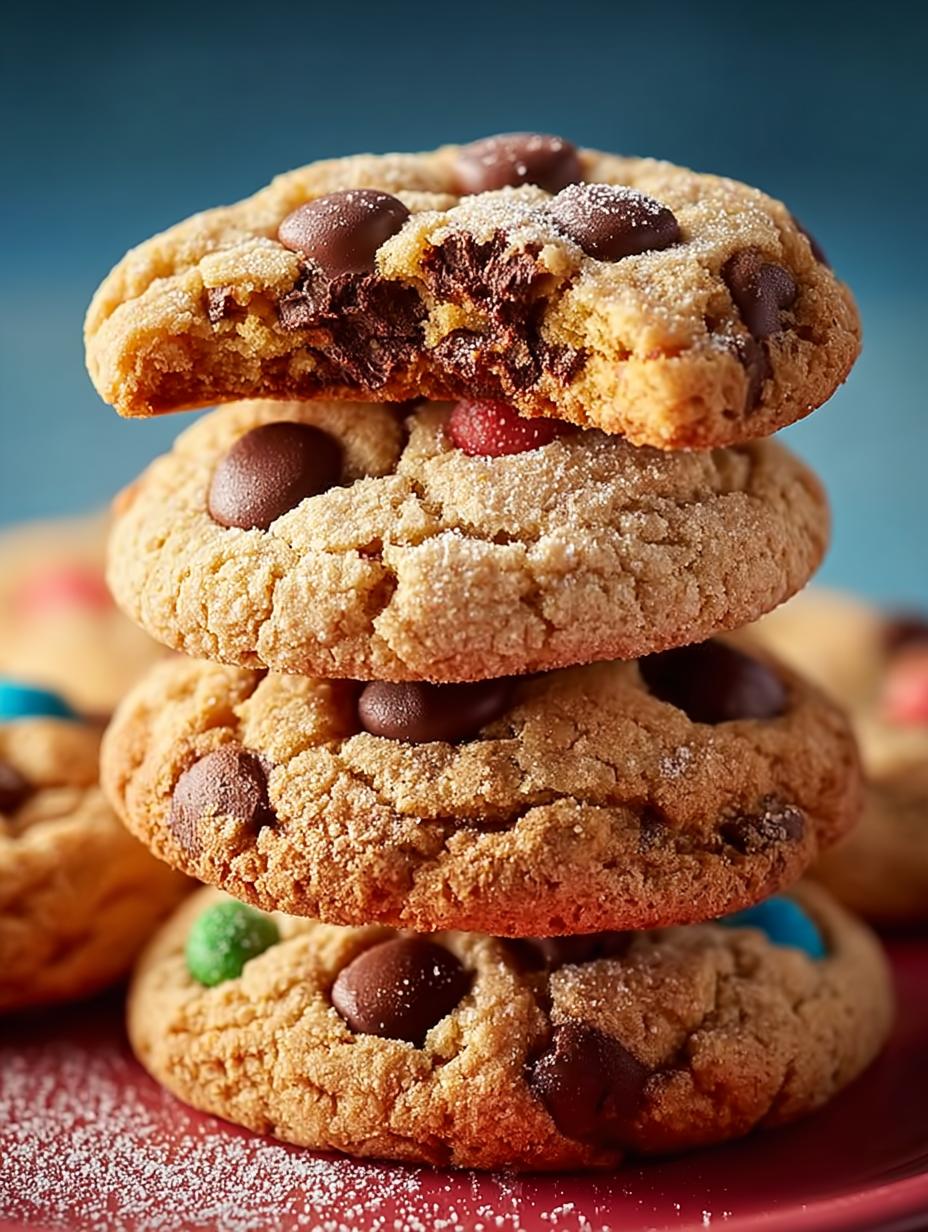
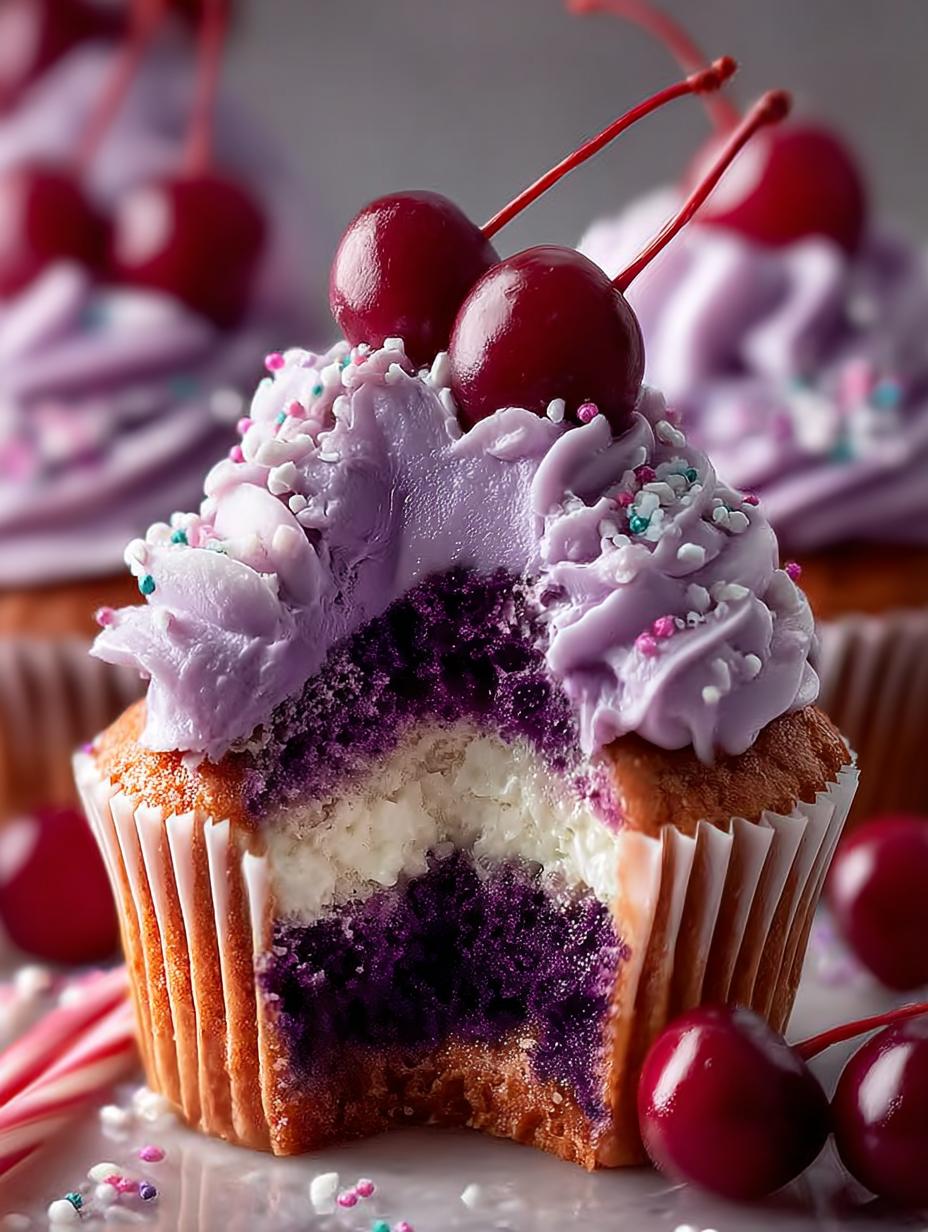
- This versatile cake icing works beautifully on cookies, cupcakes, and more.
Ingredients for Simple Icing
Gathering the right ingredients is key to crafting a perfect confectioners’ sugar frosting. This simple icing recipe relies on just a few pantry staples that work together to create a wonderfully sweet and smooth topping for your cakes and cookies. You’ll want to have these items ready:
- 1 cup powdered sugar, sifted – Sifting is crucial to avoid lumps and ensure a silky smooth texture for your cake icing.
- 2 tablespoons milk – This liquid helps to achieve the perfect consistency, making the icing spreadable. You can use whole milk for a richer flavor or even water in a pinch.
- 1 teaspoon vanilla extract – A little bit of vanilla adds a lovely aroma and subtle sweet flavor that enhances the overall taste experience.
- Optional: Food coloring – If you want to add a pop of color to your baked goods, a few drops of food coloring are perfect for customization.
How to Make Icing
Whipping up this simple icing is practically a magic trick for transforming your baked goods. It’s so straightforward, you’ll wonder why you ever bought store-bought frosting before. This is truly an easy homemade icing recipe that anyone can master.
- Step 1: Start by sifting your 1 cup powdered sugar into a medium-sized bowl. This step is super important for getting a smooth, lump-free icing. If you don’t have a sifter, you can press the sugar through a fine-mesh sieve.
- Step 2: Now, gradually add 2 tablespoons milk to the powdered sugar, stirring with a whisk or a fork. Begin with a small amount and add more as needed. You’re aiming for a consistency that’s thick but still pourable, like a thick syrup. The smell of the sugar starting to come alive is one of my favorite sensory cues!
- Step 3: Stir in 1 teaspoon vanilla extract. This is where that lovely sweet aroma really kicks in, making you excited to taste it. This simple addition makes all the difference in creating a delicious cake icing.
- Step 4: If you want to add some color, now’s the time! Add a drop or two of your favorite food coloring. Stir it in gently until the color is evenly distributed. Remember, you can always add more color, but you can’t take it away, so start small. This is a fun part of learning how to make frosting from scratch.
- Step 5: Give everything one final gentle stir to ensure all ingredients are well combined. Your perfect, smooth icing is now ready to use for decorating! This entire process takes about 5 minutes, making it an incredibly fast way to elevate your baking.

Pro Tips for the Best Icing
Elevating your baked goods with a beautiful and delicious icing is easier than you think with these simple tips. I’ve learned a few tricks over the years that really make a difference in achieving that professional finish.
- Always sift your powdered sugar; it’s the key to lump-free icing.
- Adjust the liquid (milk or water) a teaspoon at a time for your desired consistency – too thin and it runs, too thick and it’s hard to spread.
- For a richer flavor, try using heavy cream or milk instead of water.
- Don’t be afraid to add a pinch of salt to balance the sweetness.
What’s the secret to perfect cake icing?
The secret to perfect cake icing is all about achieving the right consistency and using quality ingredients. A smooth, creamy texture is paramount, and sifting your powdered sugar is non-negotiable. For more on achieving perfect textures, check out these focaccia bread secrets and recipes.
Can I make this icing ahead of time?
Yes, you absolutely can make this icing ahead of time! Store it in an airtight container in the refrigerator for up to 3 days. Just give it a good stir before using. This is a great tip for efficient cake decoration frosting storage.
How do I avoid common mistakes with icing?
To avoid mistakes, don’t overmix the icing; this can make it gummy. Also, be mindful of the liquid you add – adding too much too quickly can cause issues like why does my cake icing split or become too runny. Understanding ingredient ratios is key, much like in potato salad recipes.
Best Ways to Serve Icing
This simple icing is so versatile, it’s not just for cakes! I love using it as a delightful sweet topping for all sorts of baked goods. For a classic pairing, spread it generously over cupcakes or a simple vanilla pound cake. It also makes a fantastic glaze for donuts or cinnamon rolls, adding that perfect touch of sweetness and shine. Don’t forget to try it on sugar cookies – it’s the easiest way to make them look and taste extra special! For more cookie inspiration, see these nutter butter bars.

Nutrition Facts for Icing
Here’s a breakdown of the estimated nutritional information per serving for this simple icing recipe. It’s a sweet treat that adds a lovely finish without a lot of added complexity.
- Calories: 50
- Fat: 0g
- Saturated Fat: 0g
- Protein: 0g
- Carbohydrates: 13g
- Fiber: 0g
- Sugar: 12g
- Sodium: 1mg
Nutritional values are estimates and may vary based on specific ingredients used.
How to Store and Reheat Icing
Properly storing your homemade icing ensures it stays fresh and ready for your next baking project. Once you’ve finished decorating, allow any leftover icing to cool slightly. Then, transfer it into an airtight container. For short-term storage, you can keep it in the refrigerator for about 3 to 4 days. This is perfect if you plan to use it again for cupcakes later in the week. If you need to store it for longer, the freezer is your best friend! Wrap it well in plastic wrap, then place it in a freezer-safe bag or container. It can last up to 3 months in the freezer. This is a great tip for efficient cake decoration frosting storage.
When you’re ready to use refrigerated or frozen icing, it’s time to reheat it gently. If it’s been in the fridge, let it come to room temperature for about 30 minutes. If it’s frozen, thaw it overnight in the refrigerator. Once at room temperature, you might notice it’s a bit stiff. You can revive it by whisking in a tiny bit of milk or water, about a teaspoon at a time, until it reaches your desired smooth consistency again. This method ensures your icing is always perfect for decorating. For more baking tips, explore our latest recipes.
Frequently Asked Questions About Icing
What is the difference between icing and frosting?
While people often use the terms interchangeably, there’s a slight difference. Generally, icing tends to be thinner and more pourable, often made with powdered sugar and liquid, used as a glaze or thin coating. Frosting, on the other hand, is typically thicker, richer, and fluffier, often made with butter or cream cheese, and used for decorating and covering cakes. This simple recipe leans towards an icing consistency, but can be adjusted. For more on baking terminology, you might find information on classic vanilla ice cream helpful.
What is royal icing used for?
Royal icing is a very hard, smooth icing that dries completely rigid, making it perfect for intricate cake decorating. It’s ideal for creating delicate details like flowers, lace patterns, piping borders, and lettering. Because it dries so hard, it’s also excellent for “gluing” gingerbread house pieces together and for creating edible figurines. For intricate designs, consider practicing with french cruller donuts.
Can I make this icing thicker or thinner?
Absolutely! To make the icing thicker, simply add more sifted powdered sugar, a teaspoon at a time, until you reach your desired consistency. If you want it thinner, add more liquid (milk, water, or juice), again, just a teaspoon at a time, until it’s pourable but not too runny. This flexibility is why I love this easy homemade icing recipe.
How do I get a smooth finish when applying icing?
Achieving a smooth finish involves a few key steps. Ensure your icing is the correct consistency – not too thick or too thin. For cakes, crumb coating is essential: apply a thin layer of icing to trap loose crumbs, chill the cake, then apply your final, smooth layer. Using an offset spatula or a bench scraper can help smooth the sides and top beautifully. This technique is also useful when working with cosmic brownie bites.
Variations of Icing You Can Try
Once you’ve mastered this basic icing, the possibilities for customization are endless! It’s a fantastic base that you can adapt for different flavors, dietary needs, or even different cooking methods. Here are a few ideas to get your creative juices flowing:
- Flavor Infusions: Swap out the vanilla extract for other flavorings like almond, lemon, or peppermint extract. A little goes a long way! You could even add a tablespoon of cocoa powder for a chocolate version, or a bit of instant coffee for a mocha twist.
- Dietary Adjustments: For a dairy-free option, simply use a plant-based milk like almond or soy milk instead of regular milk. You can also find dairy-free butter alternatives if you’re aiming for a vegan buttercream frosting.
- Cookie Decorating Delight: Try making a stiffer version of this icing for decorating sugar cookies. You can achieve this by reducing the amount of milk slightly. This type of icing is perfect for detailed work, similar to how royal icing is used for intricate designs.
- Citrus Glaze: For a lighter, tangier topping, use lemon or orange juice instead of milk. This creates a bright, zesty glaze that’s wonderful on scones, coffee cakes, or even simple quick breads.

Icing: 5 Minute Simple Cake Icing
- Total Time: 5 minutes
- Yield: Approximately 1/2 cup 1x
- Diet: Vegetarian
Description
A simple guide to understanding and making cake icing, covering different types, ingredients, and techniques for beautiful cake decoration.
Ingredients
- 1 cup powdered sugar
- 2 tablespoons milk
- 1 teaspoon vanilla extract
- Optional: Food coloring
Instructions
- Sift powdered sugar into a bowl.
- Gradually add milk, stirring until smooth.
- Add vanilla extract and mix well.
- If desired, add food coloring for desired hue.
- Use this cake icing to decorate your baked goods.
Notes
- Ensure powdered sugar is sifted for a lump-free icing.
- Adjust milk quantity for desired icing consistency.
- Experiment with different extracts for flavor variations.
- Prep Time: 5 minutes
- Cook Time: 0 minutes
- Category: Desserts
- Method: No-Bake
- Cuisine: American
Nutrition
- Serving Size: 1 tablespoon
- Calories: 50
- Sugar: 12g
- Sodium: 1mg
- Fat: 0g
- Saturated Fat: 0g
- Unsaturated Fat: 0g
- Trans Fat: 0g
- Carbohydrates: 13g
- Fiber: 0g
- Protein: 0g
- Cholesterol: 0mg
Keywords: icing, frosting, cake icing, buttercream frosting, royal icing, glaze, confectioners' sugar frosting, sweet topping, cake decoration frosting, how to make cake icing, what is the best icing for cakes, easy homemade icing recipe, different types of cake icing, best frosting ingredients for cakes, how to apply cake icing smoothly, what is royal icing used for, simple buttercream icing recipe, how to make frosting from scratch, what is the difference between icing and frosting, why does my cake icing split, cake decorating, baking, dessert toppings, sweeteners